Step 1:
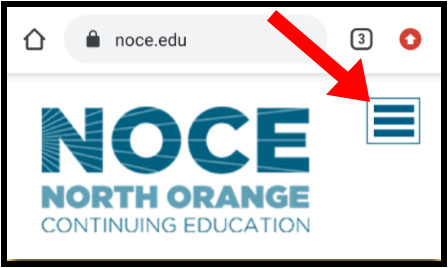 Go to the NOCE website and click on the 3 lines in the top right-hand corner. A drop-down menu will appear, as seen below.
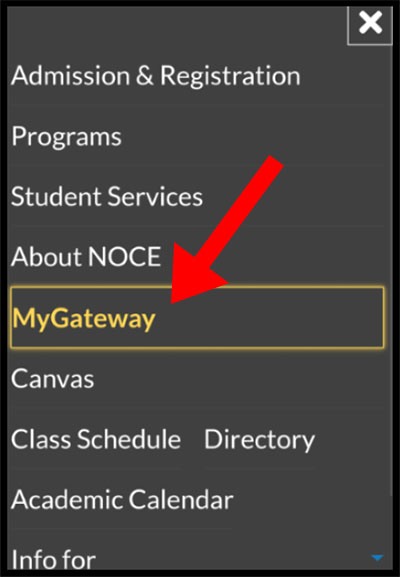 Click on the MyGateway link from the drop-down menu.
Step 2:
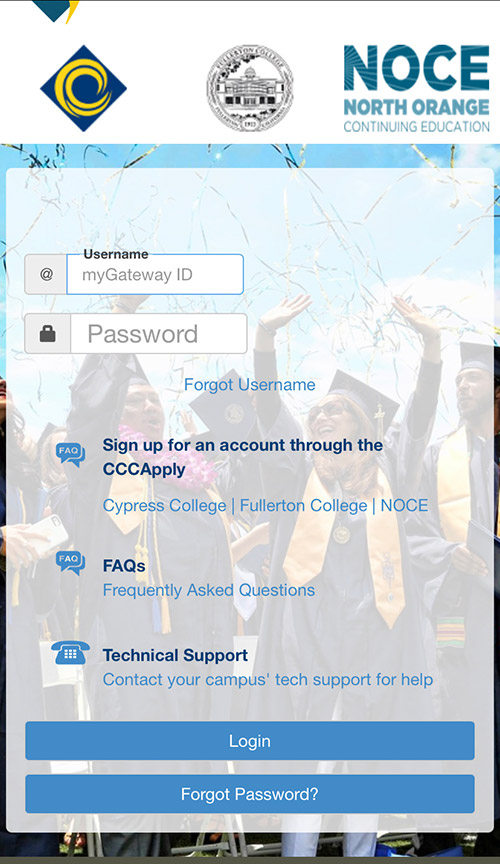 Log into MyGateway with your MyGateway ID (Banner/Student ID) and password.
Don’t know your MyGateway ID?
Click on the “Forgot Username” link on the MyGateway site.
Don’t know your password?
Click on the “Forgot Password?” button on the MyGateway site. ![]()
Step 3:
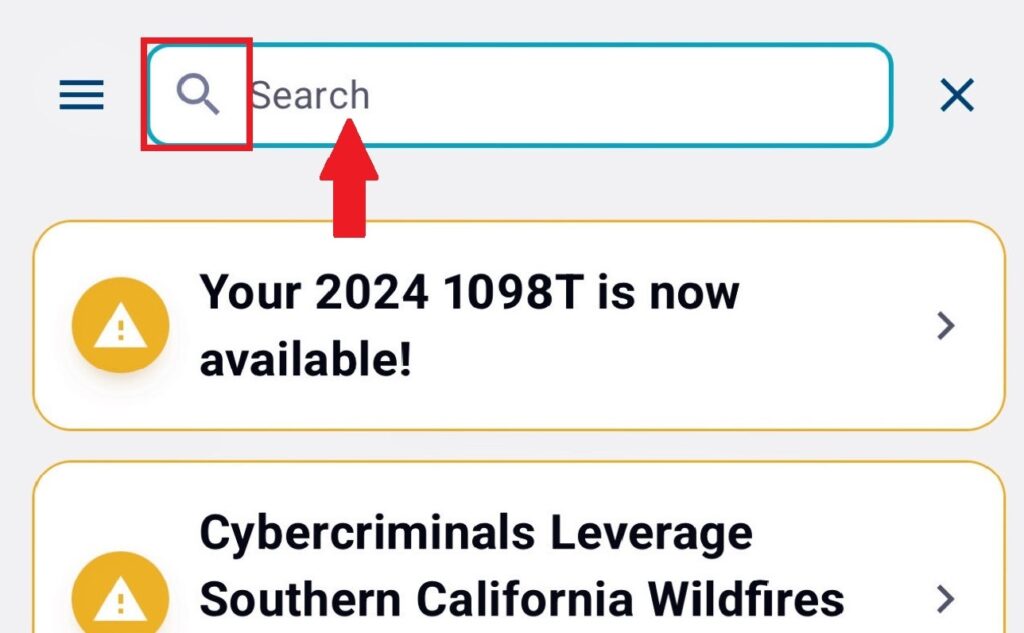
Click on the “Magnifying glass” icon at the top of the screen to generate the search bar.
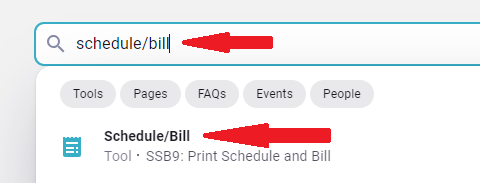
Type Schedule/Bill in the search bar and choose Schedule/Bill.
Step 4:
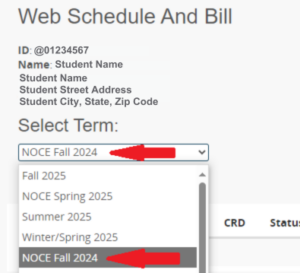 The Web Schedule and Bill page will appear. Select the appropriate NOCE term.
Step 5:
Your courses for the selected term are now displayed. For a complete view of your schedule, please rotate your phone to landscape mode. Check the class status under the ‘Status’ section

| Status Key | What it Means |
|---|---|
| RW RE | Registered |
| WL | Waitlisted |
| DO DD | Dropped |
| WA | Withdrawal |
| WW | Withdrawal Web |
| Days Key | What it Means |
|---|---|
| M | Monday |
| T | Tuesday |
| W | Wednesday |
| TH R | Thursday |
| F | Friday |
| S | Saturday |
